

Preserving the beauty of flowers is a timeless art. This guide offers a complete overview of how to press flowers, from selecting the best blooms to using various techniques like book, microwave, or iron pressing.
You will learn how to prepare your flowers, avoid common issues like browning or mould, and properly preserve your creations.
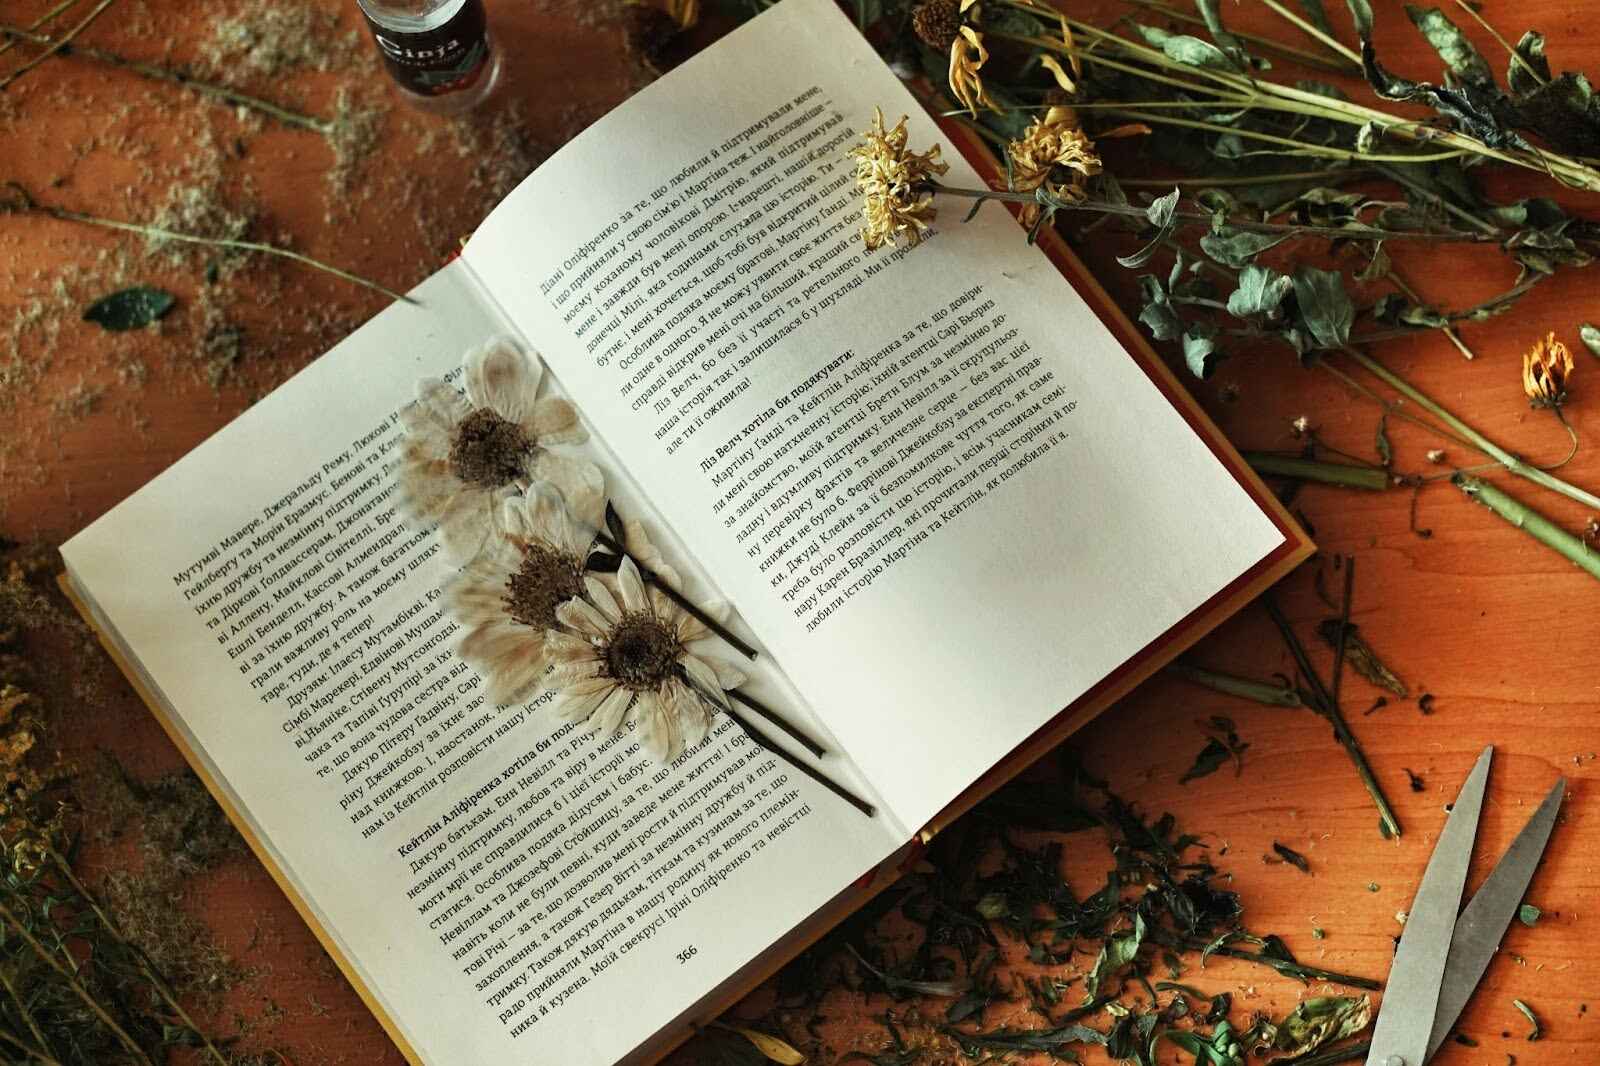
Flower pressing is the process of flattening flowers and leaves to remove moisture, which preserves their shape and colour. This technique allows you to capture the delicate beauty of a bloom long after it has faded from the garden.
Selecting and Preparing Flowers for Pressing
The success of your project starts with choosing the right flowers and preparing them correctly. This step sets the stage for beautiful, long-lasting results.
What Flowers to Press for the Best Results
Some flowers are naturally better suited for pressing than others. The best flowers to press are those with naturally flat faces and a low moisture content.
- Excellent Choices for Beginners: Violets, pansies, cosmos, daisies, single-petal roses, larkspur, and ferns are great options. Their thin petals dry quickly and retain their colour well. In Singapore, the colourful bracts of the bougainvillea and certain types of orchids can also be pressed effectively.
- Challenging Flowers: Flowers with thick, dense heads like carnations, chrysanthemums, or thick roses are more difficult. They hold a lot of moisture and can easily grow mould. To press these, it is best to cut them in half vertically or press the petals individually.
When to Pick Your Flowers
The timing of when you pick your flowers affects their final appearance. For the most vibrant colours, pick them in the mid-morning, after the morning dew has evaporated but before the afternoon sun can cause them to wilt.
Choose flowers that are fresh and just about to reach their full bloom. Avoid any flowers with blemishes, insect damage, or signs of wilting.
How to Prepare Flowers for the Press
Once you have selected your blooms, a little preparation is needed.
- Trim: Cut the stems to your desired length. Remove any leaves you do not want to press, though some leaves and ferns press beautifully. If a flower is very thick, you can carefully slice it in half with a craft knife.
- Arrange: Position the flower on your blotting paper exactly as you want it to appear when dried. Gently spread out the petals to ensure they lie flat. Remember, the way you place it is how it will look permanently.
- Handle with Care: Always be gentle to avoid bruising the petals, which can cause brown spots after pressing.
4 Traditional Flower Pressing Techniques
These methods are classic for a reason. They require patience but often yield the most reliable and beautiful results. They are perfect for anyone starting their pressing flowers for beginners journey.
1. Book Flower Press Method
Using heavy books for flower pressing is the most common and accessible method. It is a simple way of pressing flowers without a press.
Materials Needed
- Heavy books (e.g., phone books, textbooks, dictionaries)
- Blotting paper, parchment paper, or paper towels
- Your prepared flowers
Step-by-Step Instructions
- Prepare the Book: Open a heavy book towards the middle. Place a sheet of blotting paper or parchment paper on one of the pages.
- Arrange the Flowers: Place your flowers face down on the paper. Make sure they are not overlapping, as this can cause them to stick together and trap moisture. Arrange them in the exact shape you want them to be preserved in.
- Cover the Flowers: Place another sheet of blotting paper on top of the flowers.
- Close the Book: Carefully close the book, ensuring the flowers and paper do not shift. The weight of the pages provides the initial pressure.
- Add More Weight: Place several more heavy books or other heavy, flat objects on top of the closed book. This ensures enough pressure is applied to flatten the flowers and extract moisture.
- Wait Patiently: Leave the flowers to press for at least two to four weeks. For best results, check on them after the first week and replace the blotting paper if it feels damp. This helps prevent mould and speeds up the drying flowers for pressing process.
2. Flower Press Method
A dedicated flower press kit provides more even pressure than books, often leading to better results. You can buy one or even make a simple homemade flower press.
Materials Needed
- A flower press (two wooden boards with screws at each corner)
- Cardboard sheets
- Blotting paper
- Your prepared flowers
Step-by-Step Instructions
- Disassemble the Press: Unscrew the wing nuts and remove the top wooden board and layers of cardboard and paper.
- Layer the Press: Start by placing a sheet of cardboard on the bottom board, followed by a sheet of blotting paper.
- Arrange the Flowers: Carefully place your flowers on the blotting paper. Ensure there is enough space between each bloom.
- Add More Layers: Cover the flowers with another sheet of blotting paper and then a sheet of cardboard. You can continue stacking layers of paper, flowers, and cardboard until the press is full.
- Reassemble and Tighten: Place the top wooden board back on and tighten the wing nuts evenly. Tighten them as much as you can by hand.
- Wait and Tighten Again: Let the flowers press for two to four weeks. After the first few days, tighten the screws again as the flowers compress and moisture is released.
Quick Flower Pressing Methods

If you do not have weeks to wait, these modern methods offer a faster way to achieve DIY pressed flowers. They are ideal for when you need quick flower pressing methods for a last-minute project.
3. How to Press Flowers in the Microwave
The microwave method is the fastest way to press flowers, preserving their colour remarkably well.
Materials Needed
- Microwave
- Two microwave-safe ceramic plates or tiles
- Paper towels or blotting paper
- A heavy, microwave-safe object (like a mug or book)
Step-by-Step Instructions
- Create a Pressing “Sandwich”: Place a paper towel on a ceramic plate. Arrange your flowers on the paper towel, ensuring they are flat. Cover them with another paper towel and then the second ceramic plate.
- Apply Pressure: Put a heavy, microwave-safe object on the top plate to provide pressure.
- Microwave in Short Bursts: Heat the stack in the microwave on a low power setting for 30 to 60 seconds.
- Check and Repeat: Carefully remove the stack (it will be hot). Check the flowers. If they are not yet dry and papery, replace the paper towels with fresh ones and repeat the process in 20-second bursts. Overheating can scorch the flowers, so it is best to proceed with caution.
- Let Them Cool: Once dry, let the flowers cool completely before handling them. They will be very brittle at first.
4. How to Press Flowers with an Iron
This method uses the heat of an iron to quickly remove moisture.
Materials Needed
- An iron (with the steam setting turned off)
- Parchment paper or wax paper flower pressing sheets
- A hard, flat surface like an ironing board or a book
Step-by-Step Instructions
- Prepare the Flowers: Place your flowers between two sheets of parchment paper. Flatten them gently with your hand or a book first.
- Heat the Iron: Set your iron to a low, dry setting. Make sure there is no water in it and the steam function is off.
- Press the Flowers: Press the warm iron on top of the parchment paper for about 10 to 15 seconds. Do not glide the iron as you would when ironing clothes, as this can damage the petals.
- Lift and Repeat: Lift the iron, let the paper cool for a moment, and then press again. Repeat this process until the flowers feel stiff and completely dry.
- Cool Down: Let the flowers and paper cool completely before carefully peeling back the parchment paper to reveal your pressed blooms.
Why You Should Press Flowers
People engage in floral preservation for many reasons. It is a wonderful way to save flowers from special occasions, like a wedding bouquet or a Valentine’s Day gift idea. For families, it can be a fun and educational activity to do with children, connecting them with nature.
The resulting DIY pressed flowers can be used in a wide range of botanical art projects, from framed pictures to personalised greeting cards, adding a unique and personal touch to your home and gifts.
What Makes a Well-Pressed Flower
A successfully pressed flower is completely dry and flat. Its colour should be as vibrant as possible, though some colour change is natural. The goal is to avoid any signs of mould or decay, which can happen if moisture is not fully removed. The final product should be delicate but not so brittle that it falls apart with gentle handling.
Materials for Pressing Flowers
While each method has specific requirements, some basic tools are useful for all flower pressing techniques.
- Fresh Flowers: The main ingredient for your project.
- Scissors or Pruners: For trimming stems and leaves.
- Blotting Paper: This is essential for absorbing moisture. You can use watercolour paper, coffee filters, cardboard, or even plain, non-glossy paper towels.
- Tweezers: For handling delicate dried flowers without damaging them.
Troubleshooting Common Pressing Issues
Even with the best preparation, you might encounter some issues. Here is how to solve common problems.
Why Pressed Flowers Turn Brown
Flowers turning brown are often caused by too much moisture or picking them past their prime. To prevent this, always choose the freshest blooms and ensure they are completely dry before you start.
If using the book method, changing the blotting paper after the first few days can help absorb excess moisture more effectively. Excessive heat from a microwave or iron can also scorch flowers, so always use low heat settings.
How to Prevent Mould on Pressed Flowers
Mould is the biggest enemy of pressed flowers and is caused by trapped moisture. This is a particular concern in Singapore’s humid climate. To keep pressed flowers from moulding, ensure good air circulation where you are pressing them.
Change the blotting paper regularly, especially during the first week. Before storing, make sure the flowers are 100% dry—they should feel like thin paper.
What to Do If Flowers Stick to the Paper
If your flowers stick, it might be because you used the wrong type of paper (like glossy magazine pages) or tried to remove them before they were fully dry.
Always use absorbent, non-glossy paper like parchment or blotting paper. If they are still stuck, try gently lifting them with tweezers after ensuring they are completely dry.
How to Preserve Pressed Flowers for Longevity
Make your gift last longer so that it can be something heartfelt gift you can give on Mother’s Day or any occasion.
Once your flowers are pressed, you need to protect them from moisture, sunlight, and air to maintain their beauty. Proper floral preservation ensures your creations last for years.
Sealing and Protecting Your Flowers
To preserve pressed flowers, you can apply a sealant. A thin layer of spray-on acrylic sealer or a craft sealant like Mod Podge can protect them from humidity and make them more durable.
Always test the sealant on a spare flower first, as it can sometimes alter the colour. When framing, use acid-free paper and consider UV-protective glass to prevent sunlight from fading the colours over time.
How Long Do Pressed Flowers Last?
With proper care, pressed flowers can last for many years. However, some fading over time is natural. To maximise their lifespan, display them away from direct sunlight and in a room with low humidity. Storing them in a sealed frame or a dry, dark place is the best way to preserve flowers long-term.
Creative Ideas for Using Pressed Flowers

Now for the fun part: turning your beautifully preserved flowers into art. Here are a few ideas for making pressed flower art.
- Framed Botanical Art: Arrange pressed flowers and leaves on high-quality paper and frame them. A floating frame, with glass on both sides, creates a stunning modern look.
- Greeting Cards and Gift Tags: Glue a single pressed flower or a small bouquet onto blank cards or tags for a beautiful, handmade touch.
- Resin Crafts: Embed pressed flowers in clear resin to create jewellery, coasters, keychains, or decorative trays. The resin provides excellent preservation of flowers.
- Bookmarks: Arrange small flowers on a strip of cardstock and laminate it for a durable and lovely bookmark.
- Phone Cases: Place pressed flowers inside a clear phone case for a personalised, botanical design.
- Candle Decoration: Gently press flowers onto the outside of a pillar candle. You can then dip the candle in melted wax to seal them in place.
Conclusion On Pressing Flowers
Learning how to press flowers is a rewarding skill that allows you to capture a moment of natural beauty forever. We have covered everything from choosing the right blooms and preparing them correctly to mastering various flower pressing techniques, including the patient book method and faster options like the microwave or iron.
By understanding how to avoid common issues like mould and browning and how to properly preserve your finished pieces, you can create stunning botanical art. Whether for home décor, heartfelt gifts, or simply as a relaxing hobby, pressed flowers offer endless creative possibilities.
At BearloonSG, we are passionate about crafting moments of joy and wonder. Learning a skill like pressing flowers is another beautiful way to create and preserve memories. While you capture nature’s fleeting beauty, let us help you celebrate life’s milestones.
Explore our wide range of balloons, flowers, and gifts, and let’s make your next celebration truly unforgettable. Still have questions?
Feel free to contact us. We’re happy to help.
Frequently Asked Questions About Pressing Flowers
What Is the Best Way to Press Flowers at Home?
The best method depends on your needs. For beginners, the heavy book method is the easiest and most accessible. For those wanting faster results and better colour retention, the microwave pressing method is an excellent choice, though it requires more attention.
How Long Does It Take for Flowers to Press?
Drying time varies by method. The traditional book or flower press method takes between two to four weeks. The iron method takes only a few minutes, while the microwave method can dry flowers in as little as one to two minutes.
What Is the Best Paper to Use to Press Flowers?
The best paper is absorbent and acid-free. Blotting paper is the professional standard. However, watercolour paper, coffee filters, parchment paper, and even plain, non-glossy paper towels are effective alternatives for absorbing moisture without sticking to the petals.
What Flowers Are Best for Pressing?
Flowers with naturally flat blooms and thin petals are ideal. Good choices include pansies, violets, cosmos, daisies, delphiniums, and ferns. It is best to avoid very thick flowers like large roses or carnations unless you press their petals individually.
How Do You Keep Pressed Flowers From Moulding?
To prevent mould, ensure the flowers are completely dry when you pick them (no dew or rain). Use absorbent blotting paper and consider changing it after the first week to remove excess moisture. Pressing in a dry, well-ventilated area is also important, especially in a humid climate.
Do Pressed Flowers Last Forever?
While they do not last forever in their original state, properly pressed and preserved flowers can last for many years. To maximise their lifespan, they should be sealed or framed and kept out of direct sunlight and high humidity, which can cause colours to fade and the flowers to become brittle.